Monday, May 30, 2005

Day 54 - squaring, truing, leveling completed

Post recovered by Gerry! Many thanks, Gerry!!


Monday May 30th.

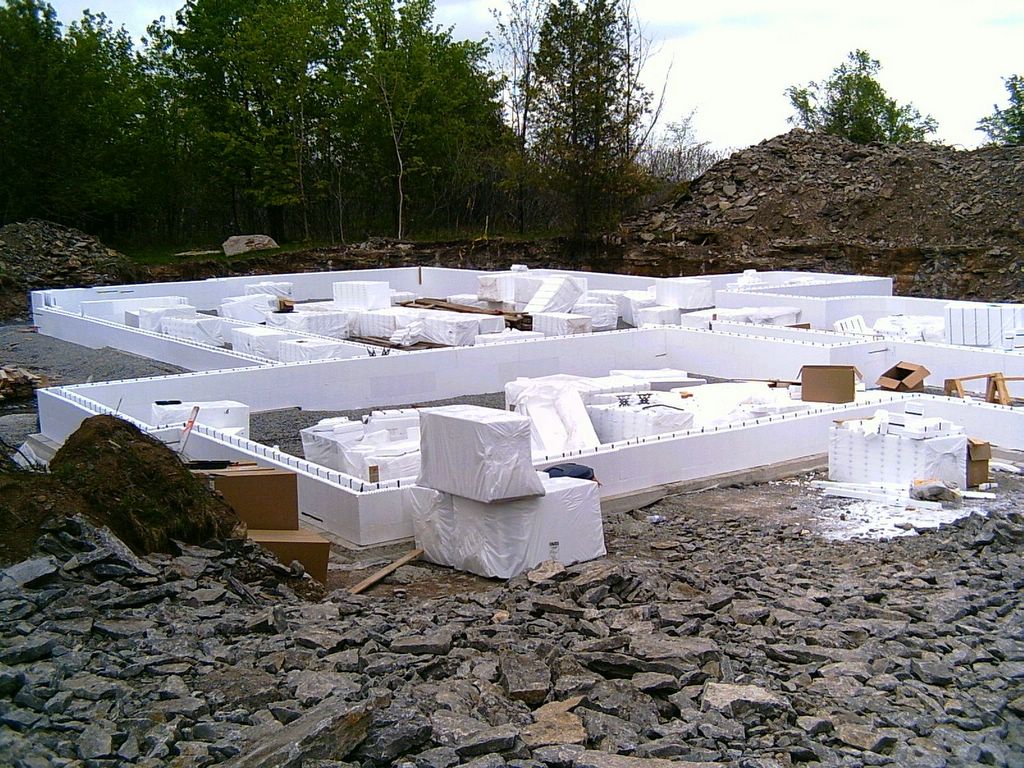
The bottom few rows of the ICF are now installed. The corners are now all squared, the walls are leveled and straight, and bottom row and footings are foamed at the join.

You can see that the doorways into the cold-storage are cut out now. The first few rows were placed before cutting out the openings, otherwise it would not have been possible to get the length of the wall correct.


The new construction banner.

Friday, May 27, 2005

Day 51 - squaring, truing, and leveling....


Progress to week ending May 27th was a bit slower this week as Chris was sick for 3 days, and of course Monday was a holiday (Victoria Day).

Most of the walls are squared. Next week the crew will finish squaring, truing, and leveling. Kickers will be installed on the corners (to hold the walls in square), and the bottom edges of the blocks will be foamed to fill any gaps and glue the blocks to the footings.


The new crew members: Brian & Steve

The new crew members who joined us this week: Brian Breton and Steve Molson.

Brian has signed on for the ICF portion of the construction. Steve is signed up for the full meal deal. As you can see from the rust stains on Steve's attire, he's been working hard shifting rebar on the job site.

Wednesday, May 25, 2005

How to have real fun!


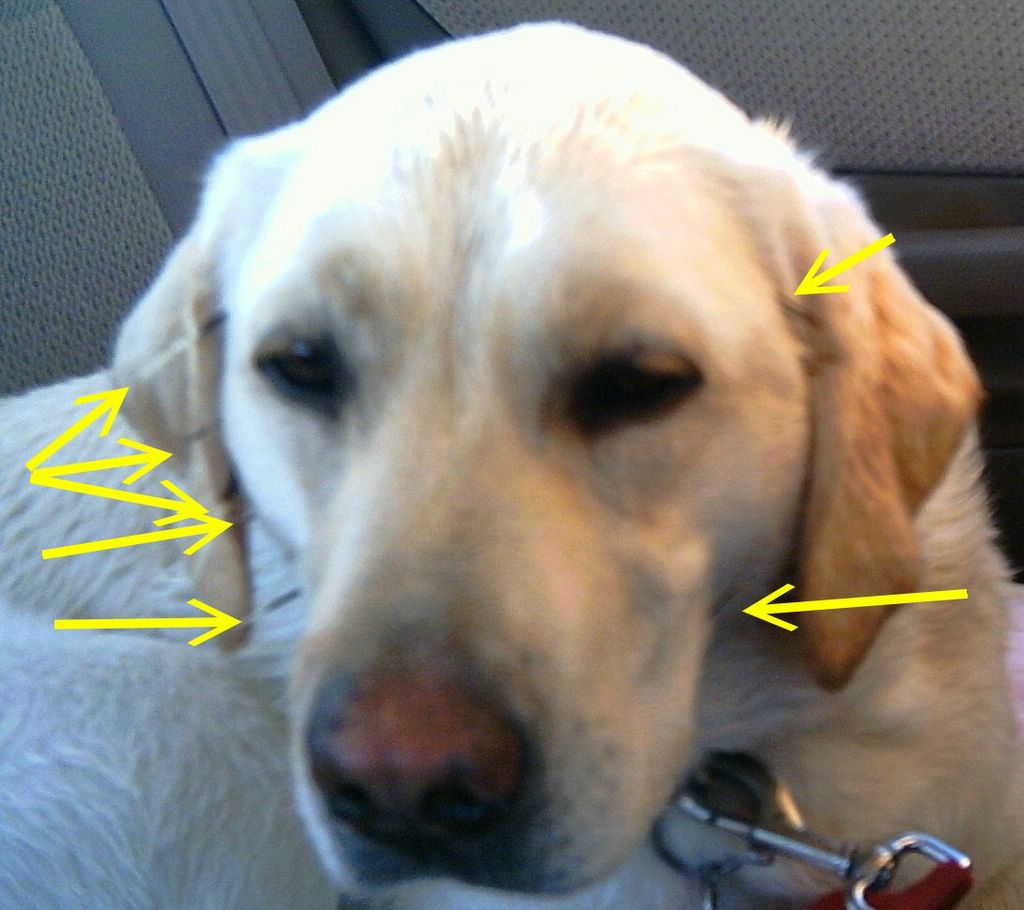
Tawny - showing some of her prizes that she got from rolling on a dead porcupine. Tawny had 46 quills in total, some were really embedded (on the back of her neck) and others came out easily. We took her to vet where they gave her an anaesthetic and removed 45 of the quills. We took her home, and found another quill while washing the stench of the dead porcupine out of her fur. Tawny just stood there quietly while we pulled on the quill to try to get it out. After 3 attempts, we decided to take her back to the vets to let them take it out.

The sad thing is, dogs never learn not to tangle with porcupines.

Update - one week later: three more quills worked their way through the flesh of Tawny's nose and neck. Total quills: 49.

Day 49 - ICF construction begins


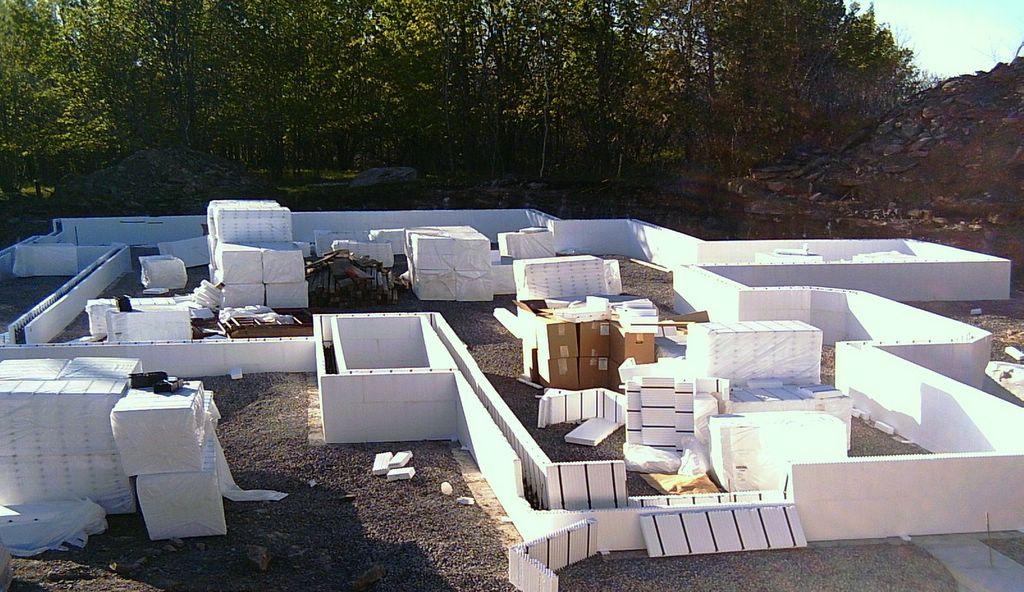
View of building site with ICF under construction.


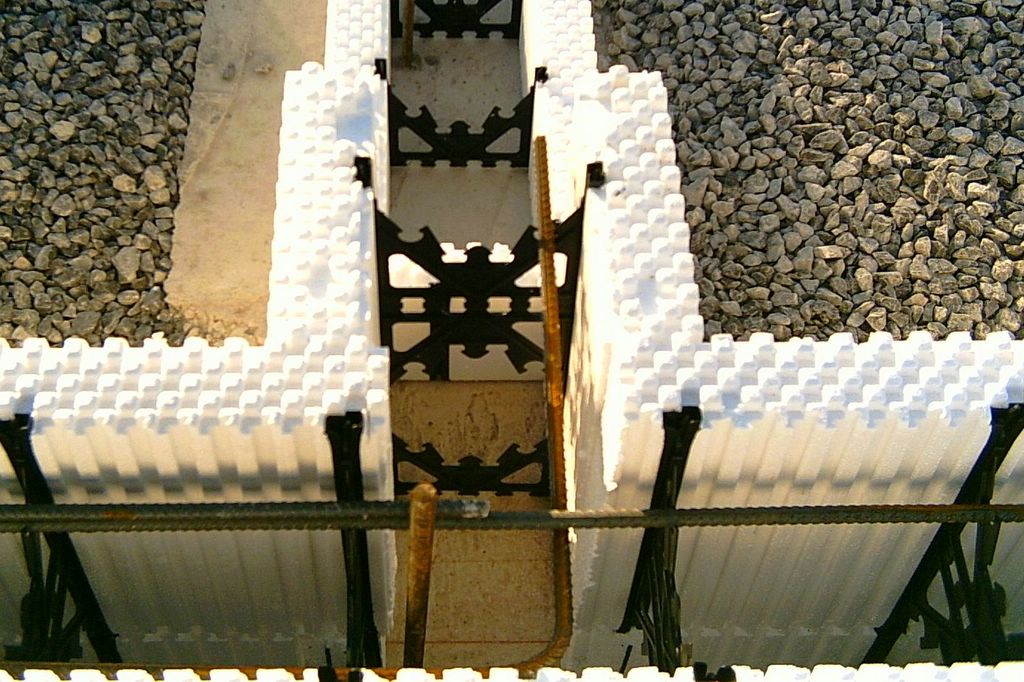
Closeup of ICF under construction. As you can see, ICF has a significant amount of rebar in the walls. Typical basement walls have little or no rebar.

Tuesday, May 24, 2005

Day 48 - ICF forms arrive

The first delivery of the ICF forms arrived today. This should keep the crew busy for a while. Will see if I can get some pictures shortly.

Monday, May 23, 2005

Designing for energy efficiency

A major focus of our new house is energy efficiency. This is clear by our choice of ICF construction, and high mass hydronic radiant heating. This was all inspired by these stories of an ICF house that uses 45% less energy than an R-2000 house: here, here, here and here.

Besides winter heating, summer time cooling is a huge energy cost. While our house will have air handling ducting designed for potential future air-conditioning, we are not planning to install an air conditioner initally. Anyone who grew up in western Canada (or US) knows that if you keep your windows closed and curtains drawn until the heat of the day is past, your house will be cooler. I am sure that in this case the house actually heats up from the heating in the attic.

So what did we do to minimize any potential cooling requirements?

First, our house faces south west. This means the front facade and right side (if you're on the road and facing the house) get the heat of the sun in the summer. We placed the garage on the southern side (right side of house). Besides this being the obvious location for easy access for driving in from the road, we avoid having lots of windows to heat up the house.

Second, we have a wide porch (7 feet deep) across the front of the house. This is over the front door, stair window, dining room window, and laundry room windows and door. I wanted to check that the porch design of our new house would provide maximum shade in the summer and let maximum light in during the winter. I searched on the web for tools that I could use to verify that the initial design would do this for us. I came across a sustainable design site with some tools that are quite useful. If you click the Design Tools link, you will find a number of tools including the Overhang Design tool which I used. In order to to compute the sun's position accurately when you use these tools , you need to know your city's latitude and longititude. In Canada, you can get degrees/minutes accuracy from this site. I used 45° 19' N 75° 40' W in my calculations for Ottawa.

Third, our house is at the top of a hill at the side of a lake. There is almost always a breeze here. If the house gets warm, and there is a breeze, all we will need to do is open the windows at the front and back of the house to cool the house off. Another big advantage of the constant breeze is that it keeps insects away! Bonus!

Energy efficient lighting
I should also mention, the sustainable design site mentioned above has a tool to calculate the economics of compact fluorescents (CFL). If you're interested in saving money, check out this CFL tool to see how much $$ you can save. CFL bulbs are now much improved, and you can even buy dimmable bulbs now (with electronic ballasts, which also means they work better in cold weather).

The first CFL bulbs I purchased about 13 years ago were expensive - cost about $20 each, were limited to something that produced less light than a 60W incandescent, gave an unflattering "cool white" light, and were a clumsy long tube (about 6" long) that was designed for commercial fixtures and didn't fit many residential light fixtures. Today's CFLs are much cheaper (I recently purchased some 23W CFLs, equivalent to ~100W incandescent, for just over $5 each), are brighter (e.g. the 23W units mentioned), give off a more flattering "warm white" light, and are more usable with shorter spiral bulbs.

We have considered using DelphiTech LED lighting for exterior perimeter lighting, but that may not be in the budget...

Wednesday, May 18, 2005

Day 42 - looking ahead (revisited)

Time to look at the plan that we talked about on Day 26 - Looking ahead....

Update on major components...
main floor joists - ordered.
trusses - not ordered yet. smart move, due to schedule slip.
windows - reviewing the sizes, etc, this evening. Order should be placed tomorrow.

We had difficulties with the concrete mix for the footings, so that in conjunction with the weather(!!) caused just over a week's delay. So here is the updated plan, with a 9 day schedule slip.. We also have a few days delay as the next delivery date for the ICF blocks is Tuesday, May 24th... (schedule updated again below)

Week starting:
May 24th (day 48), new: ICF blocks delivered
May 24th (day 48); was May 9th (day 33): start on basement ICF walls (1.5 weeks)
June 2nd (day 57); was May 20th (day 44): basement walls complete, start to install main floor (1 wk)
June 9th (day 64); was May 27th (day 51): main floor complete (includes plumbing & electrical rough-in), start to install main floor ICF walls
June 21st (day 76); was June 7th (day 62): main floor ICF walls complete
June 28th (day 83); was June 14th (day 69): trusses installation complete.

Rain again!

Well, it's pouring rain in downtown Ottawa... I wonder what the weather is at the building site?!? Probably another weather day, blech!

Tuesday, May 17, 2005

Day 41 - concrete podiatry


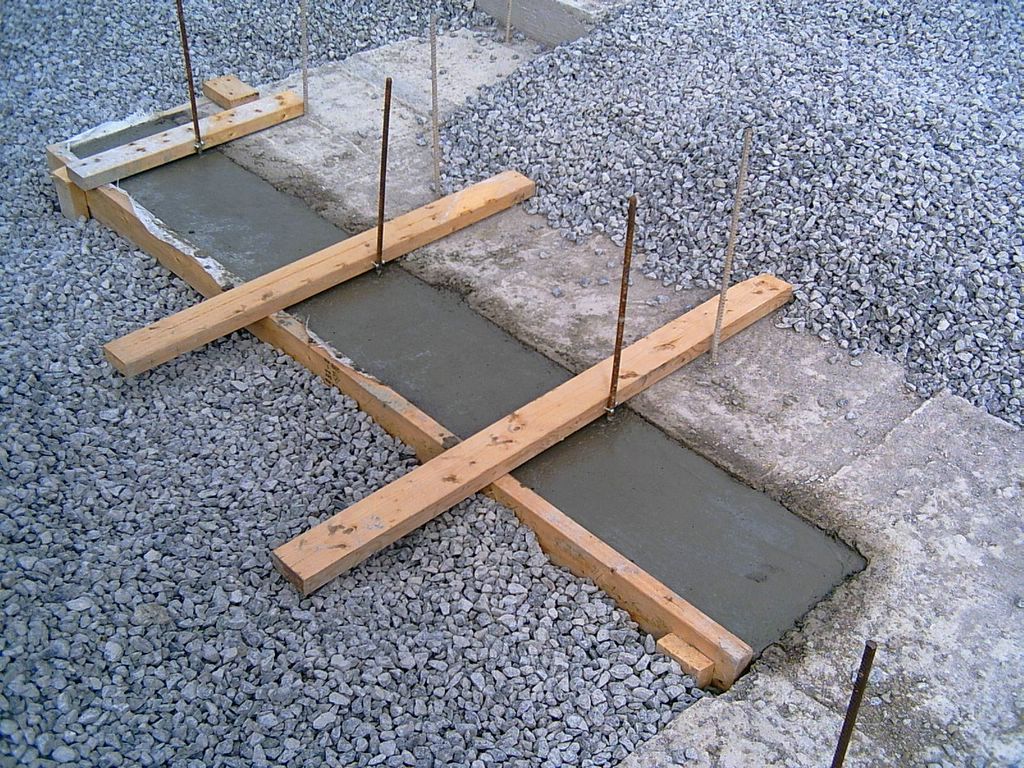
Minor footing surgery.


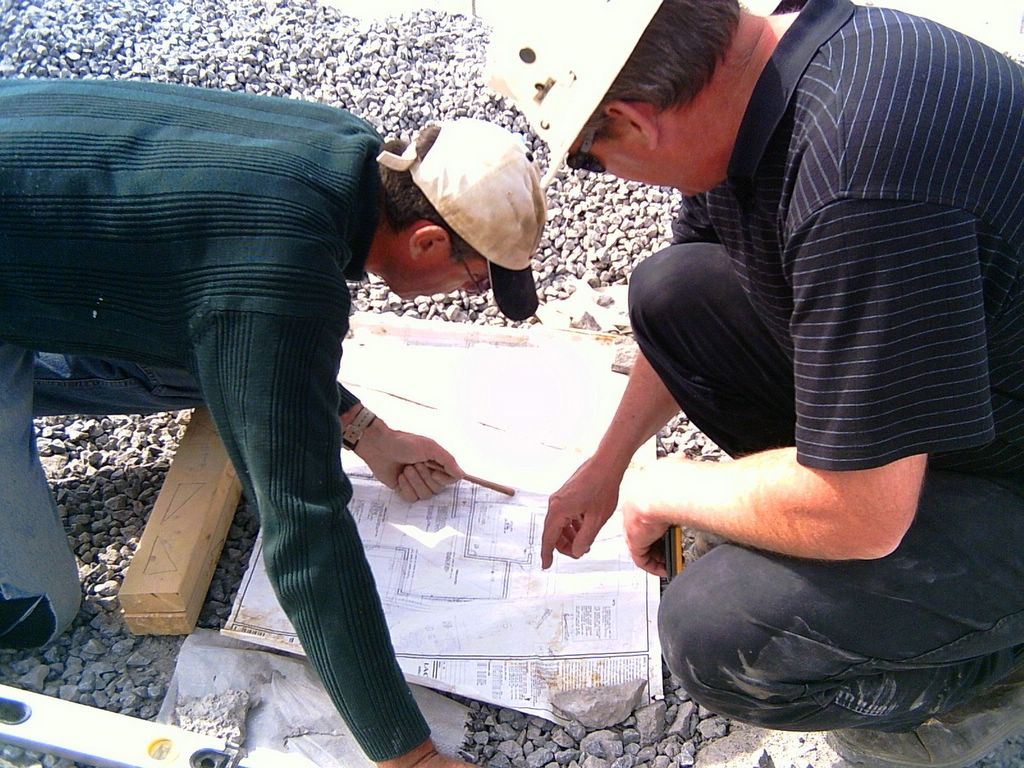
Freda studying the plan (on another cold, wet, windy day).

Friday, May 13, 2005

Day 37 - squaring the walls on the footings...

Today started out by completing the insertion of the rebar in the footings. This would normally have been done when the footings were poured, but this was impossible because the concrete set up too quickly. As a result, holes needed to be drilled in the footings every 32 inches and the rebar epoxied in. The result, as you can see, is a forest of rebar. Compare that, if you can imagine, to the way footings are formed in typical house construction. There, the footings only have a key (a groove marked in the concrete while it is workable). This approach is clearly significantly better for earthquake, etc, resistance.


The next step was marking out where the exterior walls of the ICF will be located on the footings. This is a critical, but somewhat tedious task, since it involves computing the Pythagorean Theorum over and over for ever corner - checking, double-checking, and triple-checking the calculations.


Charles and Dave figuring out the Pythagorean theorum. This proves that math and geometry are very important no matter what line of work you're in!


Charles and Dave measuring angles to ensure the walls will be square.

Once the calculations are made, the footing is marked, and then a screw is inserted into the footing as pencil marks will wash off.


This picture shows 3 things: first, you can see how the footings were capped to make the surface smooth and level (critical for ICF walls). 2nd - you can see the rebar inserted at least every 32 inches. 3rd - the blue screws indicate where the outside of the corners will be located.

In other news, a new crew member will be starting on Monday.